—
## 🟦 **Step 1: Admin Login**
* 🔑 Admin লগইন করবে Django Admin Panel এ।
—
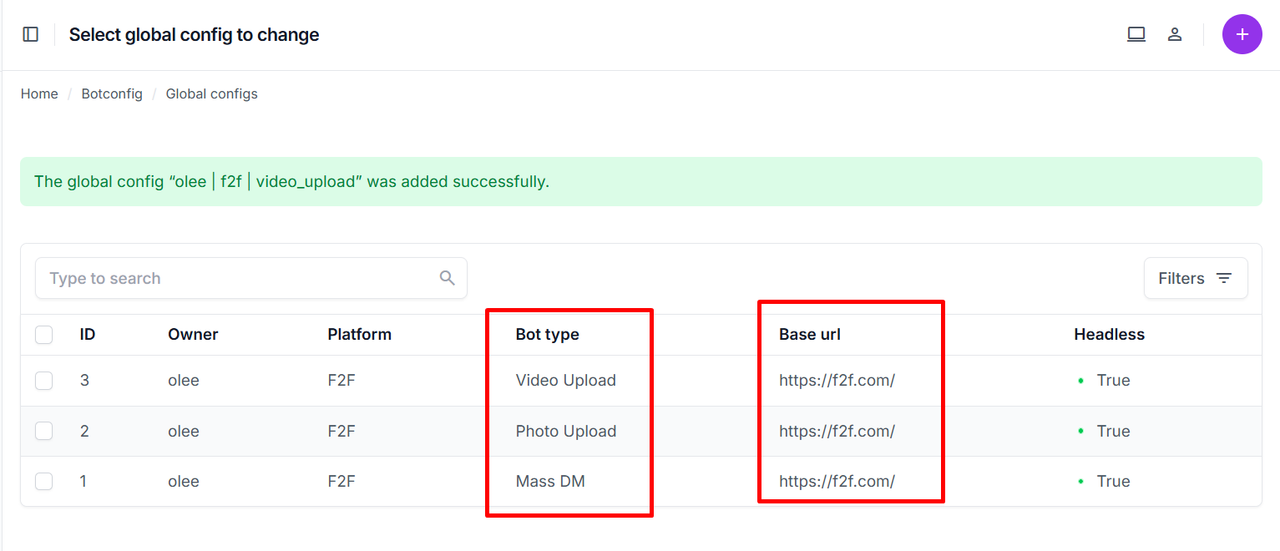
## 🟦 **Step 2: Create Bot Global Configuration (By Admin)**
* ➕ **GlobalConfig তৈরি করবে।**
✔️ Platform (Example: `f2f`)
✔️ Base URL (Example: `https://f2f.com/`)
✔️ Bot Type → (`Mass DM` অথবা `Content Posting`)
✔️ Executable Path → Bot File Path বা Chrome Path
✔️ **Cookies Upload করবে** (যদি Initial Cookie থাকে)।
* ✅ **GlobalConfig Save করার পর এটিই Client Phase তৈরি করার জন্য বেস হিসেবে থাকবে।**
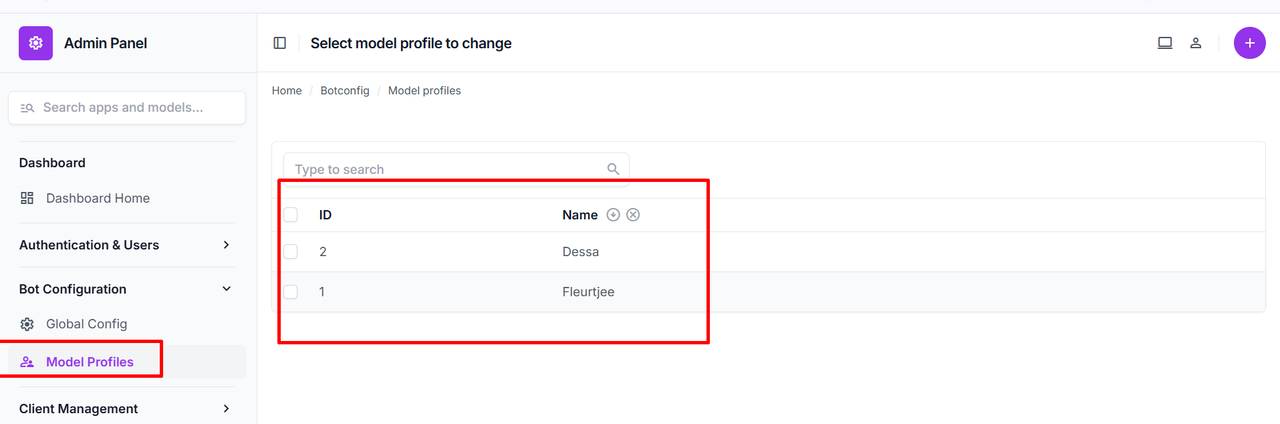
## 🟦 **Step 3: Create Model Profiles (By Admin)**
* 🔧 Admin → **ModelProfile তৈরি করবে।**
Example: Model Name → `Lucia`, `Fleurtjee`, `Sara_Visser` ইত্যাদি।
→ এগুলো Phase এ Model List হিসেবে ব্যবহার হবে।
🟦 Step 4: Create Subscription Package (By Admin)
- SubscriptionPackage তৈরি হবে:
- Start Date, End Date
- Price, Model Limit → কয়টা Model একসাথে চলবে
- Status → Active/Cancelled/Expired
Demo Table for SubscriptionPlan:
| id | name | description | price | duration_days | model_limit | is_active | created_at |
|---|---|---|---|---|---|---|---|
| 1 | Premium Plan | Includes 5 models, 30 days | 50 | 30 | 5 | True | 2025-07-01 12:00:00 |
| 2 | Basic Plan | Includes 2 models, 15 days | 20 | 15 | 2 | True | 2025-07-01 13:00:00 |
🟦 Step 5: Client Login/Register
- Client logs in and checks available subscriptions.
- Client can proceed only if they have an active subscription.
* ➕ Client → **Phase তৈরি করবে।**
| Field | Description |
| ———— | ——————————————- |
| Name | Phase Time (Example: `13:00`, `17:00`) |
| Message File | Excel/CSV → Messages |
| Used File | Used Data File → Already Messaged/Processed |
| Folder Map | Photo/Video Folder Mapping Excel |
| Media | Photo/Video/None |
| Models List | যাদের মেসেজ যাবে → ModelProfile থেকে Select |
| Version | Auto Starts at 1 (Phase Updated হলে বাড়বে) |
—