এই পর্বে আমরা একটি প্রজেক্ট বানাচ্ছি এবং একটি চ্যাট পেজ html এ বানিয়ে সেটা রেন্ডার করবো এবং সাবমিট বাটন ক্লিক করলে ইনপুট এর টেক্সট টি অন্য একটি ইউআরএল এ পাঠাবে যেটাকে আমরা চ্যাট রুম হিসাবে জানবো
প্রজেক্ট বানাই
django-admin startproject mysiteএপ্লিকেশন বানাই
python manage.py startapp chatলাইব্রেরি ইনস্টল করি
pip install channels daphneআমাদের এপ্লিকেশন টি প্রজেক্টের সাথে যুক্ত করি
daphne এবং channel কে ইনস্টল apps এ যোগ করি এবং daphne অবস্যই প্রথম লাইনে রাখবো
import os
INSTALLED_APPS = [
    'daphne', # new include
    'django.contrib.admin',
    'channels',  # new include
    'chat',# new include
]

ASGI_APPLICATION = "mysite.asgi.application"
# Define a channel layer backend (use Redis for production)
CHANNEL_LAYERS = {
    'default': {
        'BACKEND': 'channels.layers.InMemoryChannelLayer',  # Use in-memory for development
    },
}


TEMPLATES = [
    {
        'BACKEND': 'django.template.backends.django.DjangoTemplates',
        'DIRS': [
            os.path.join(BASE_DIR, 'templates'),  # This will look for templates in the 'templates' folder
        ],
        'APP_DIRS': True,
        'OPTIONS': {
            'context_processors': [
                'django.template.context_processors.debug',
                'django.template.context_processors.request',
                'django.contrib.auth.context_processors.auth',
                'django.contrib.messages.context_processors.messages',
            ],
        },
    },
]
Create the Initial Database
- Run migrations to set up the database:
python manage.py migrate
Create a superuser to manage the app:
python manage.py createsuperuser
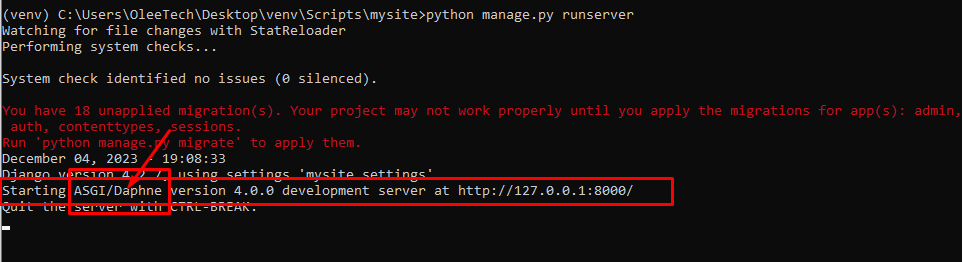
RUN SERVER
python manage.py runserverদেখতে পারবো asgi daphne শো করছে